

If you have a wordpress.org site with your own hosting, the WordPress SEO tips below can help increase your rankings in search engines and traffic.
Choose a good hosting provider
Your hosting affects many SEO-related things – especially page speed, uptime and security. So think about this before setting up your website.
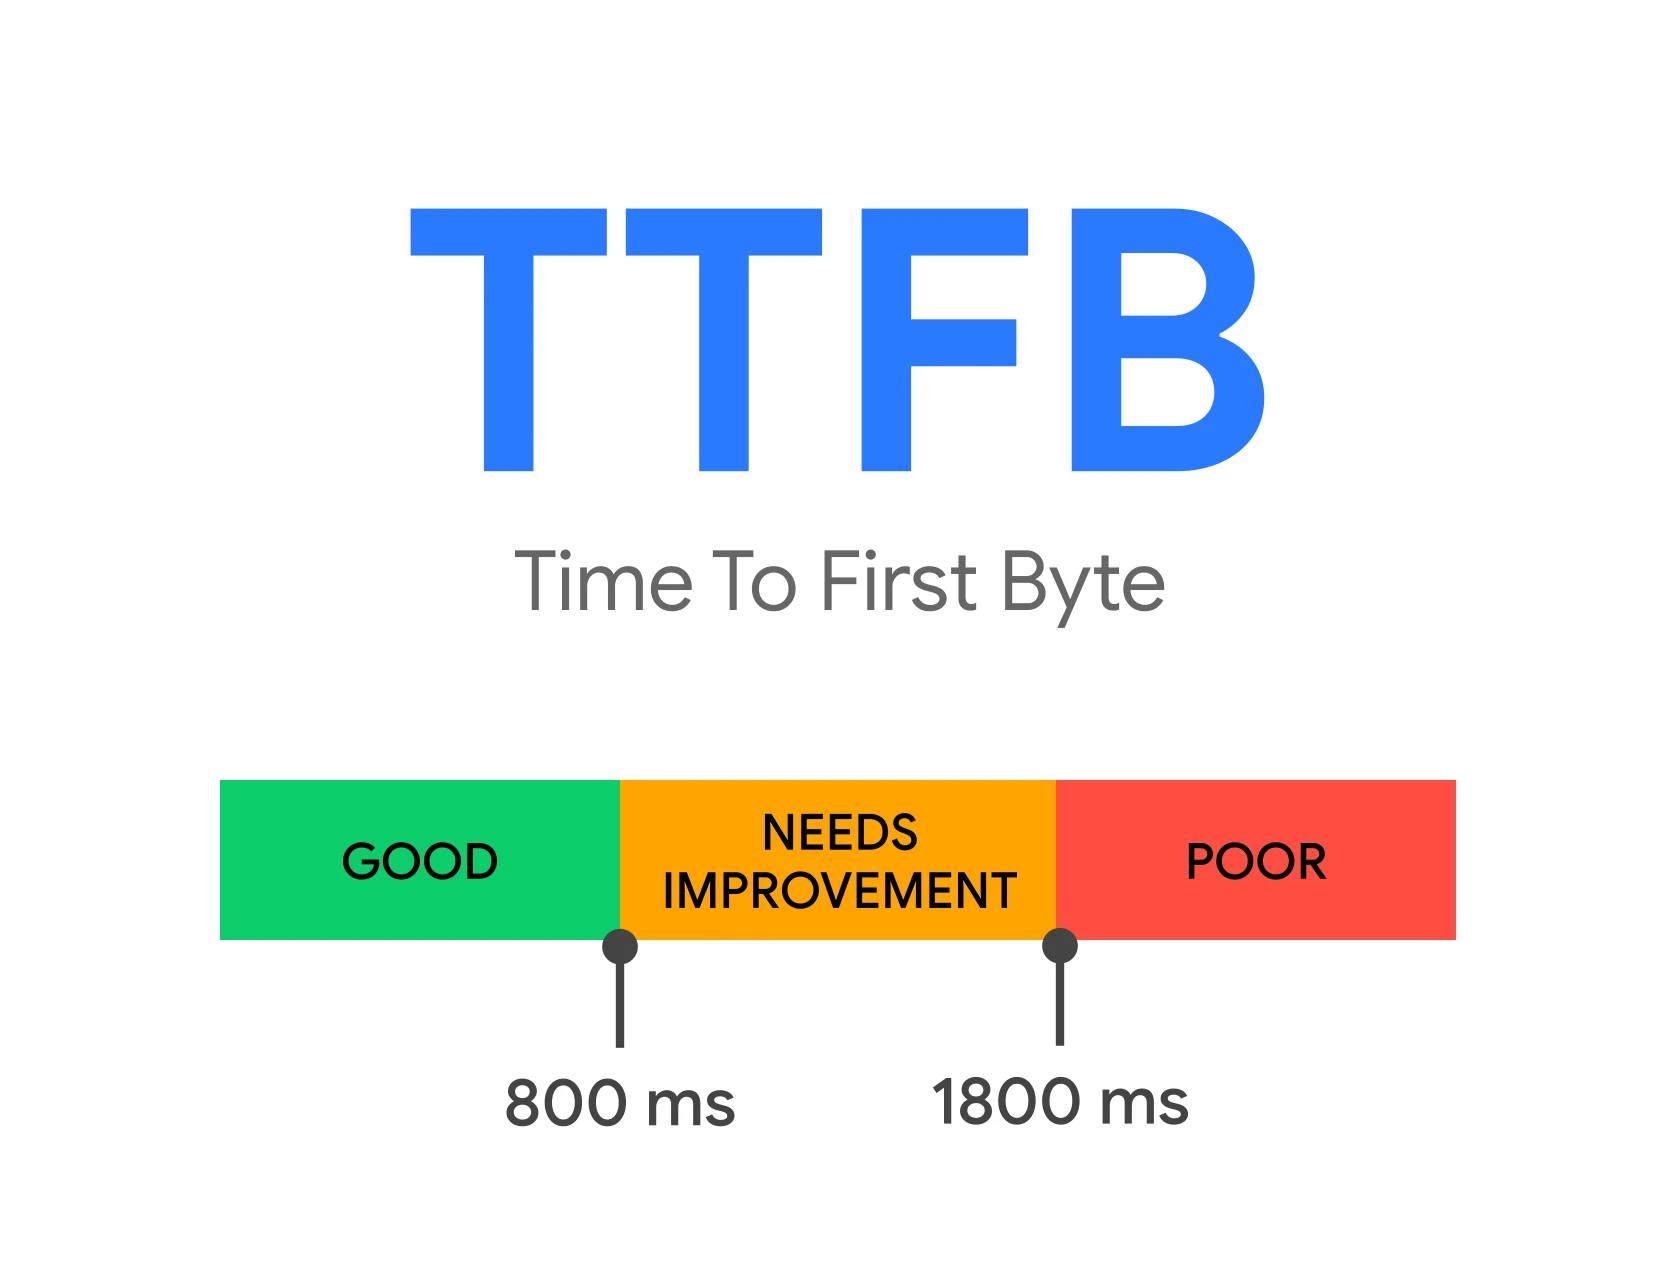
If you are already using hosting services and are not happy with them, you can always change them. Most good hosting providers will be happy to help you move your site from competitors.
Here are a few things to bear in mind when choosing a hosting provider:
- high uptime – downtime happens even to the best hosting providers. However, if your site is unavailable too often, it has a negative impact on your business and reputation,
- WordPress optimisation – hosting should be compatible with WordPress sites. Most top providers offer plans tailored to WP needs,
- free SSL – a free SSL certificate is an essential hosting feature, because it activates secure HTTPS encryption for your site,
- server location – for example, if your target audience is in Poland, the server should be located in Poland or nearby. This makes the site load faster for your target audience,
- support quality – a helpful and responsive support team makes everything much easier.
- 01Speed and availabilityFast loading, high uptime.
- 02Data securityProtection against threats.
- 03WordPress optimisationCompatibility and performance.
Choosing the right hosting is the foundation of your site’s speed, security and SEO success, with the option of easy migration.
Make sure the site is indexable
Having an indexable site means that Google is able to index it and display it in search results. You need to check your site’s visibility in Settings > Reading.
You will see a checkbox next to the “Search engine visibility” section at the bottom of the page. By default, it should not be checked. However, developers often use it to stop search engines indexing a site that is under construction.
If your site is published and ready to be ranked on Google, this box should be unticked. Of course, you can tick it when the site is under construction, but later do not forget to untick it.
Set up an SSL certificate
Using a secure HTTPS connection is absolutely essential. It is a confirmed ranking factor, so it helps the site achieve better positions in Google. You certainly do not want your site to appear as “not secure” in the browser.
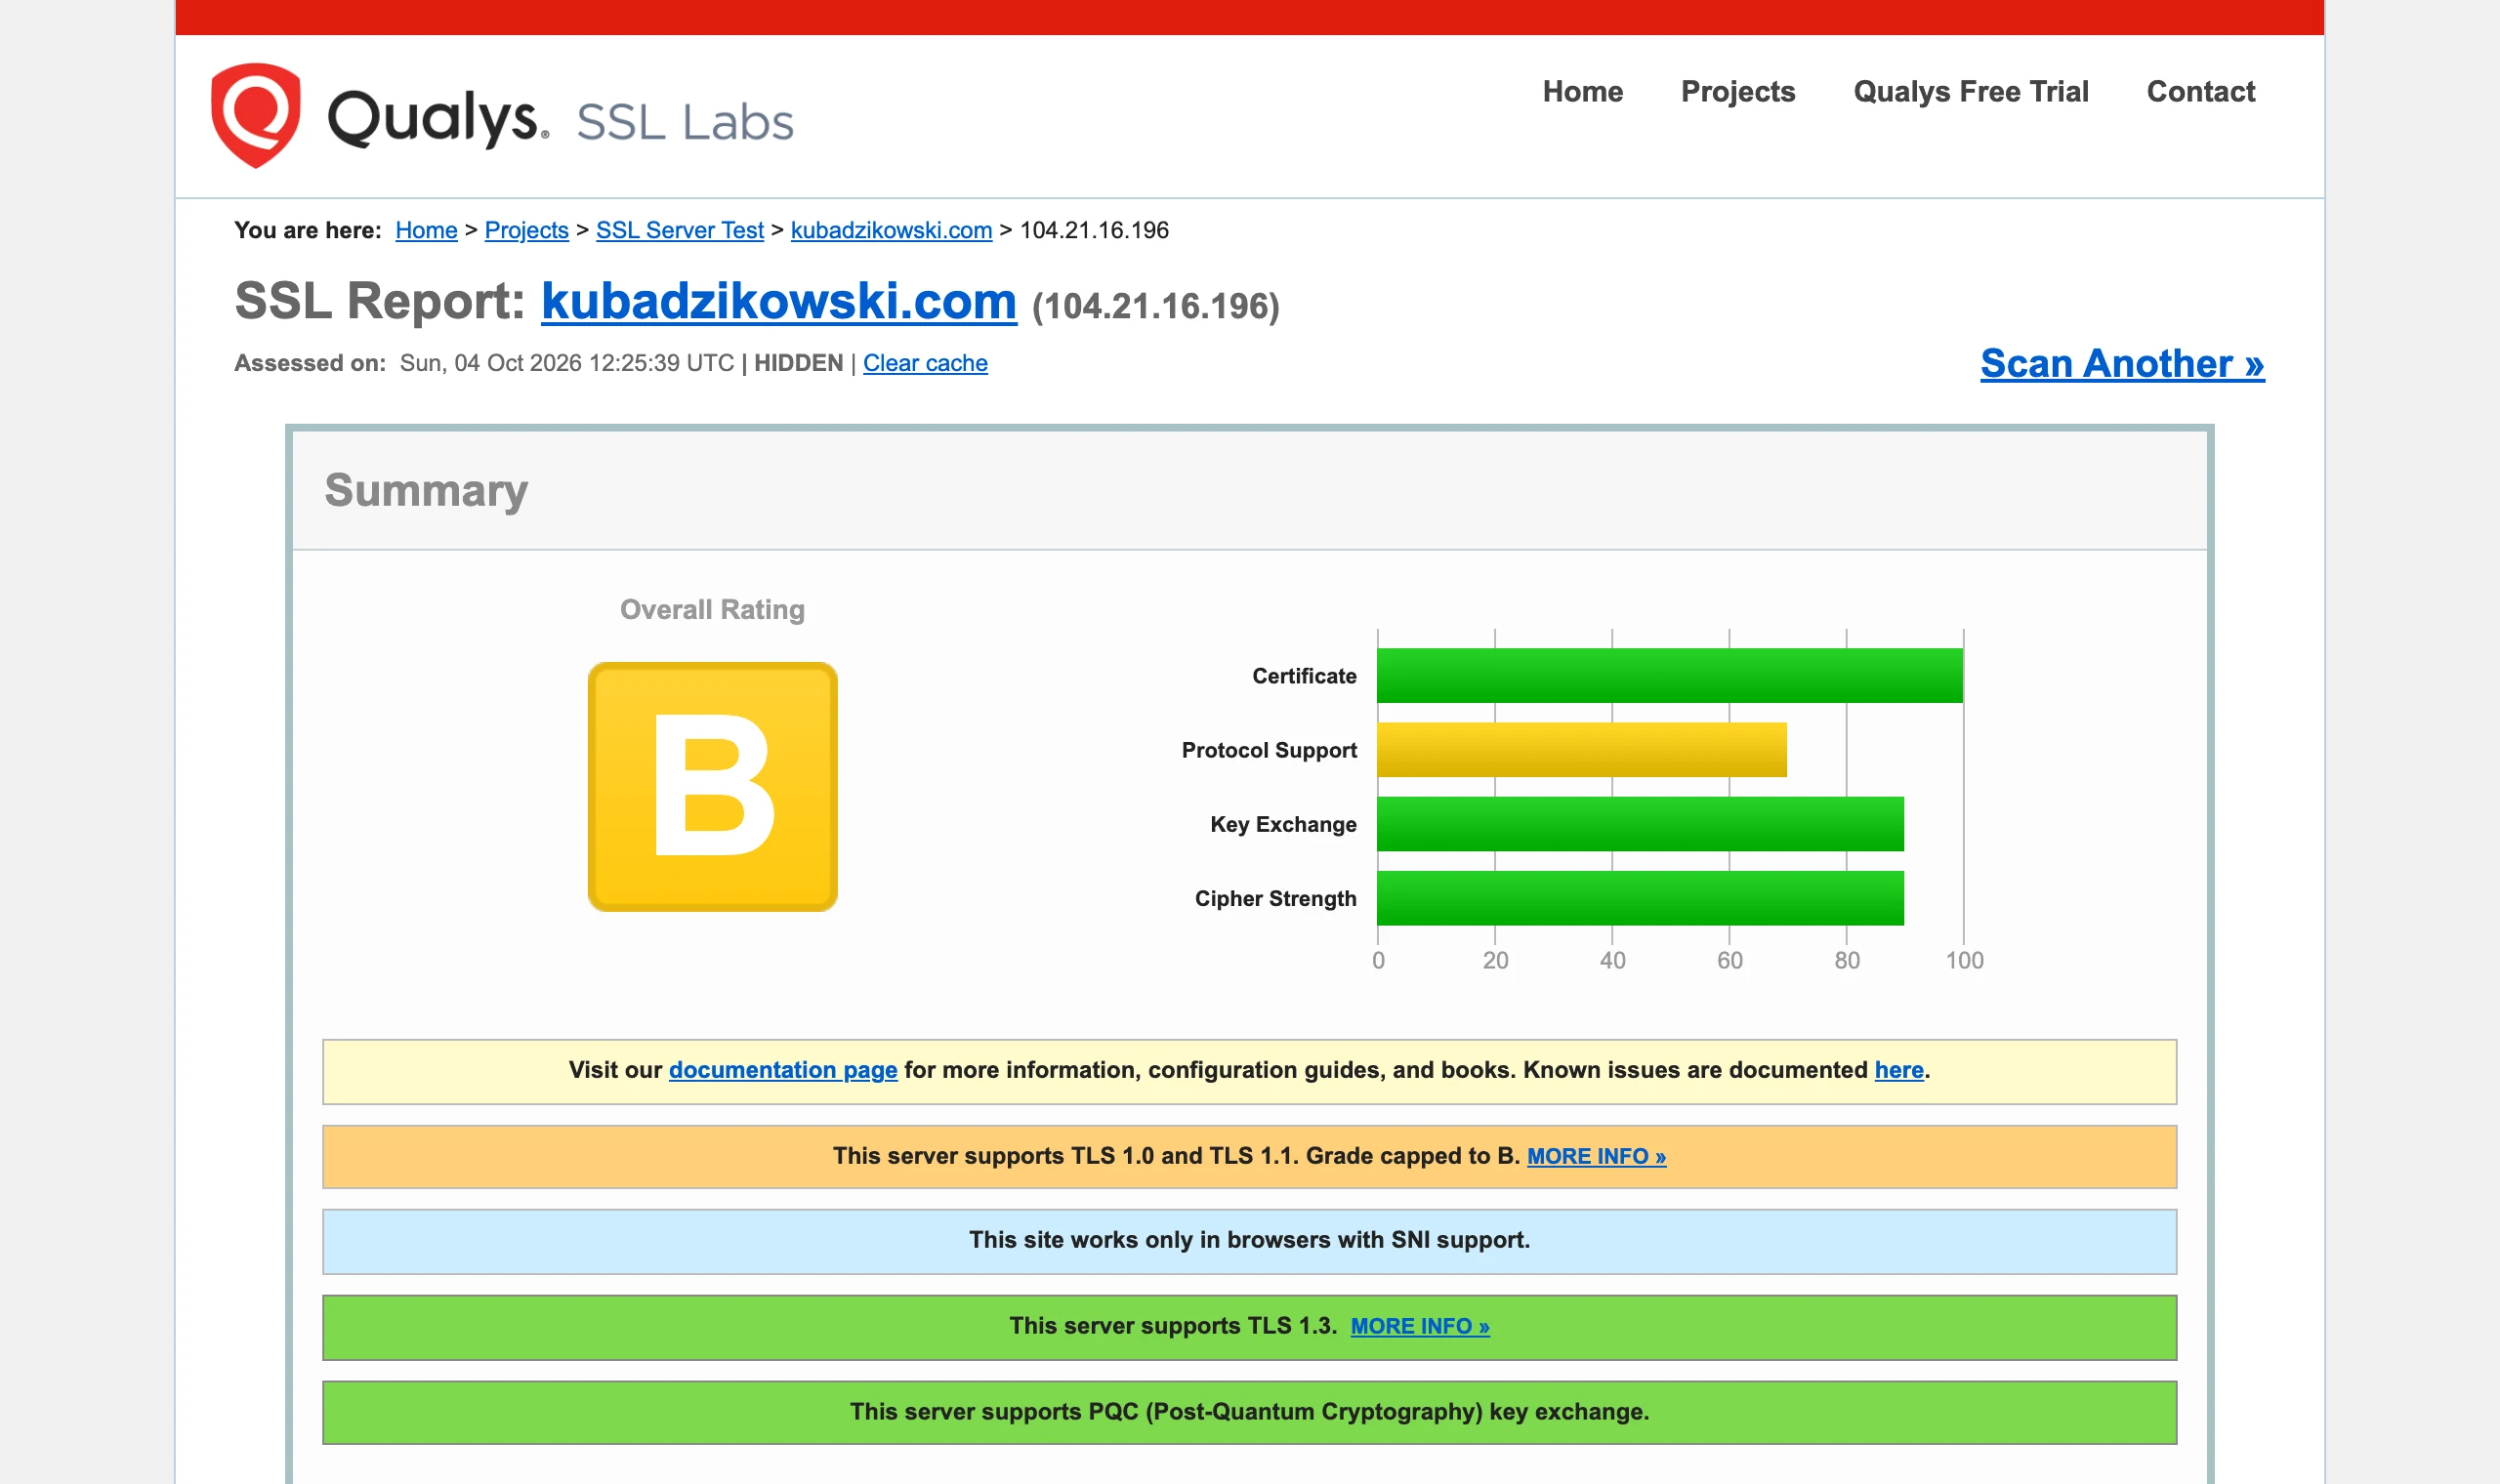
To secure your website connection, you need to encrypt it using an SSL (Secure Sockets Layer) certificate. This ensures that data passing through your website is securely encrypted.
Fortunately, the whole process is very easy:
- log in to the admin panel of your hosting provider,
- look for settings such as “security” or “SSL certificate”. If you cannot find them, then search Google for “ssl certificate settings [your hosting provider’s name]”. Most WordPress hosting providers offer a free SSL certificate called “Let’s Encrypt”,
- choose and install the certificate.
To make sure that the SSL certificate is recognised and used correctly on your WordPress site, you can install the special “Really Simple SSL” plugin. In the WordPress dashboard, click “Plugins” in the left-hand menu. Then click “Add New” and search for “really simple ssl.”. Once you find it, click the “Install” button. However, be careful not to use too many plugins! This always adds extra code to your site.
If your site has been running without an SSL certificate for some time, you may need help from a developer to make sure that everything has been set up correctly.
- 01Using HTTPSA requirement and ranking factor
- 02SSL encryptionSecure data encryption
- 03Plugin installationReally Simple SSL
- 04Confirmed securityBetter positions, trust
A key step for security, user trust and better visibility in Google.
Submit your sitemap to Google Search Console
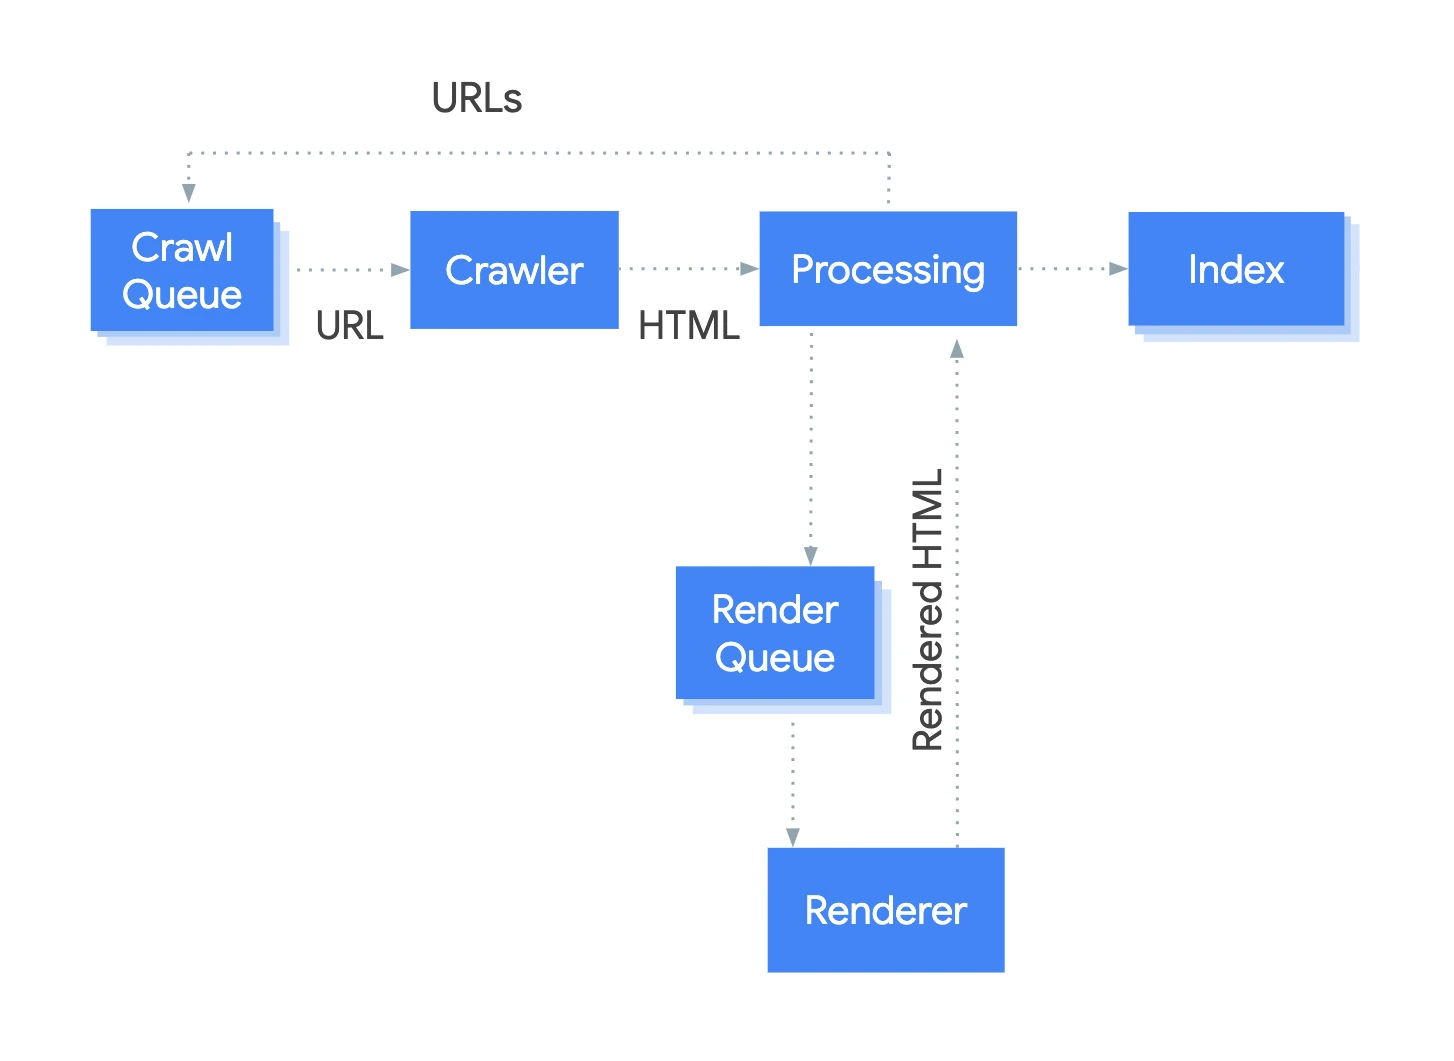
An XML sitemap is a simple file that contains a list of all your pages in a format that is easily read by search engine bots. It helps search engines discover your new pages and provides important information (for example, when a page was last updated).
WordPress automatically creates a sitemap. You can find it at the address below:
However, if you use the Yoast SEO plugin, it will create a slightly more advanced XML sitemap version and disable the default one. All you need to do is submit the sitemap URL to Google Search Console (GSC).
Google will usually discover your site on its own. However, submitting an XML sitemap in Google Search Console speeds up this process. It also allows Google to better understand your site.
Finding the sitemap URL in Yoast
Go to Yoast SEO in the left-hand menu and click “General”. Then click the “Features” tab and scroll down to XML sitemap.
The sitemap should be enabled by default (the button should be set to “On”). If it is not, enable it.
Click the small question-mark symbol, then click the “See the XML sitemap.” link. Your sitemap will open in a new tab.
Copy the URL and go to Google Search Console.
- 01Identify archive pagesLow value, e.g. monthly archives.
- 02Assess user valueDo users want this in the results?
- 03Block indexing (noindex)Use a plugin (e.g. Yoast SEO) to block it.
The key is to focus Google’s attention on valuable content, ignoring what does not serve users.
Submitting the sitemap URL to Google Search Console
Log in to your Google Search Console account and click “Sitemaps” in the left-hand menu.
You will find a simple form where you can paste the URL of your sitemap.
After pasting the URL, click the “Submit” button.
Not indexing irrelevant pages
WordPress uses various page taxonomies and archive pages. For example, it creates monthly archive pages whenever posts are published. An archive page for posts from September 2022 will have its own URL, such as for example:
These pages are of little value to users. Usually, you should not care about indexing them or getting traffic from Google. You must always ask yourself – would users want this page to appear in search results?
If the answer is “No”, you can use the Yoast plugin to stop Google indexing such pages. Technically speaking, it is necessary to set a “noindex” attribute on the page.
In Yoast SEO, click “Search Appearance” (search appearance). Then the “noindex” settings are under each tab for “Content Types” (content types), “Taxonomies” (taxonomy) and “Archives” (archives). Under each category, you will be asked whether you want a given content type to be indexed in Google.
To stop the whole category content from being indexed, simply select “Off” (disabled) on the button.
Let’s discuss each of the elements:
Content types:
- posts – these should be indexed. You should want them to appear in search results,
- pages – these should be indexed. They should also appear in search results,
- templates – these are usually created by website creators. Do not index them.
Taxonomies:
- category pages – these are usually useful for users, especially for larger blogs and eCommerce sites,
- tag pages – these are usually low-value pages. They should not be indexed,
- format-based archives – these are rarely used low-value pages. Disable archives completely or do not index them.
Archives:
- author archives – these can be useful for blogs with multiple authors. Otherwise, disable archives completely or do not index them,
- date archives – disable such archives completely or do not index them.
Create an easy-to-navigate menu
The menu is a key navigation element of every website. It helps visitors find the most important pages. It is also important for SEO. It provides further information about your site structure and its key pages.
Your main menu should have the following features:
- clarity – do not overwhelm users with too many menu items. Consider creating secondary menus or moving less-used items to the footer menu,
- simplicity and usefulness – always follow the “user first” principle. Put yourself in your audience’s shoes and make sure the navigation is 100% clear,
- predictability – do not experiment. Include elements people (and search engine bots) expect in a menu and use conventional names (e.g. “Pricing” instead of “How much will it cost” or “Blog” instead of “Notes”).
To create a menu in WordPress, you need to do the following:
- go to Appearance > Menu > edit your menu or click the “create a new menu” link,
- add pages (or other content types) to your menu in the “Add menu items” section,
- drag menu items to change their order and/or rename them in the “Menu structure” section.
To make the menu appear in the site header, don’t forget to mark it as “Primary menu” in the settings at the bottom.
In the WordPress Menus section, you can create many different menus (e.g. a footer menu, a separate blog navigation, etc.). Their implementation depends on your theme and/or page builder solutions.
Use post categories properly
Categories are a useful method of:
- organising blog posts into logical groups – categories can be nested, so they provide a unique opportunity to create a hierarchy of topics on a blog,
- improving your site’s internal linking – your category archive pages can become useful content sources that internally link to all relevant posts covering one topic,
- helping visitors find other relevant posts – categorising posts allows you to show readers related posts.
Categories are mandatory for WordPress posts (if you do not assign a category to your post, WordPress will use the default “Uncategorized” – without a category), but you can gain a lot from them.
Assigning a category to a post is easy. Open the page editor and scroll to the category section in the right panel. Then you can tick a category or create a new one.
Another type of taxonomy in WordPress is a tag. Tags can help group posts from different categories based on a shared secondary topic. However, tags are not mandatory and are not as popular as they once were.
Let’s see what you can do to optimise categories in WordPress.
Using a sensible number of categories
There are no limits when it comes to the number of categories used. However, the blog will be easier to browse without overwhelming the reader if a maximum of 5-10 categories is used.
Try to create broader topic categories. In this way, you will not end up with categories containing only a few posts.
Tip – you cannot delete the default “Uncategorized” category. However, you can avoid using it or rename it.
Optimising category pages
Each category archive page should have a short description. This will help present the category to readers and provide unique content for search engines.
To add a description to a category page, go to Posts > Categories and click “Edit”. Then describe your category in a few sentences in the “Description” field.
As we mentioned earlier, category pages can be an excellent source of content (serving as “topic gateways” for different subjects on the blog). That is why they should be indexed and appear on search results pages (SERP).
To have attractive snippets in search results, you need to optimise title tags and meta descriptions on category pages.
Check keywords
One of the most important tasks in WordPress SEO is looking for keywords that your users type into Google, so that you can target them and attract the right traffic.
This process is called keyword research.
Keyword research
The easiest way to look for relevant keywords is to pay attention to which terms your competitors are ranking for. You can find plenty of free and paid tools online for such analyses. You can also check this using Google.
Choosing keywords
After finding keywords, you need to take a closer look at their metrics in order to choose target keywords. These are the keywords that will represent your pages or posts.
To choose target keywords, you need to pay attention to metrics such as:
- search volume – how often do people search for this keyword?
- keyword difficulty (KD – keyword difficulty) – how hard is it to rank for the keyword?
- search intent – what type of content do people expect when they enter the keyword into the search engine?
Once you have found the ideal target keyword for a page or post, optimise the content for it. This does not mean that you should stuff the keyword everywhere.
Instead, include the target keyword (or its variants) in certain important elements of the page, such as:
- headings,
- title tag,
- main content,
- incoming internal links.
Create excellent content
High-quality content is a general SEO requirement (not only related to WordPress SEO). However, it is so important that we could not leave it out of this guide.
Meeting search intent
Meeting search intent means making sure that your page provides exactly what the user is looking for. To start with, analysing the search results page for your target keyword is a great idea.
SERP analysis will help meet search intent by:
- choosing the right type of content – you will see what kind of content ranks best for the keyword (e.g. landing pages, reviews, informational posts, etc.), so you can target it too with the right type of content,
- better understanding the topic – you will see many questions the user may ask and you can answer them in your content,
- competitor analysis – you will be able to check which pages are ranking for the given keyword and you will have the opportunity to draw inspiration from them,
- looking for opportunities to provide additional value – observing what your competitors have published can help you find ways to stand out (e.g. by providing a unique perspective, data, examples, media materials, etc.).
Providing reliable information
E-E-A-T (Experience, Expertise, Authoritativeness and Trustworthiness – experience, expertise, authority and trust) is an important SEO concept that forms part of Google’s process of evaluating your website.
A large part of demonstrating strong E-E-A-T is linked to having high-quality backlinks. In addition, various on-page practices are helpful, such as:
- writing about issues in which you have expert knowledge,
- providing information about the authors and their specialist knowledge,
- ensuring factual accuracy and covering the topic in full,
- supporting your claims with statistics and other reliable data,
- providing clear information about your website (the “About us”, “Contact”, etc. pages).
This is not a complete list. The idea is that you should become an online source you would trust yourself.
Optimising for readers
Many people focus too much on optimising content for search engines and forget about their readers. By improving user experience, you have a positive impact on SEO and vice versa.
Create SEO-friendly URLs
By default, WordPress uses your page titles to create URLs. As a result, the URLs on your website can be long.
The problem with long URLs is that they can be truncated in search results. This does not look great.
To create a more SEO-friendly URL, go to the “Permalink” section in the page/post editor and change the URL.
Alternatively, you can change URLs in the Yoast SEO settings at the bottom of the editor. The plugin will also show a live snippet preview.
Here are some additional tips for creating SEO-optimised URLs:
- they should be short – they look better and will not be cut off in search results,
- include the target keyword – this will help users quickly determine what the page is about and it is also a smaller ranking factor,
- do not include numbers (unless you are 100% sure they will not change) – if a number in the post (e.g. the number of tips or a year) changes in the future, you will have a URL that is not consistent with your content.
Use headings correctly
Headings are one of the most important elements in the structure of a single page:
- they establish a clear hierarchy of the page content,
- they inform users what the page is about,
- they break up the text and make it easier to read.
Here is how they work:
To add headings in the WordPress editor, open a page or post. Then click the plus icon (+) and add a new block. Select “Heading”. Then choose which type of heading you need.
To check how your page is organised in terms of headings, you can open the document outline. Click the “info” icon in the top navigation of your editor. This is the letter “i” in a circle.
Then you can ask yourself the following questions:
- Are the headings set out in a logical way? (H3 under H2s, etc.),
- Are headings at the same level consistent grammatically and stylistically?
- Can the headings serve as a standalone table of contents and still make sense?
Answering “Yes” to all of these questions means you have used your headings correctly.
Create optimised title tags
Your page title tag tells users and search engines what your page is about. It is an important ranking factor. It appears in browser tabs and in search snippets.
As a result, creating solid, well-optimised title tags is an important on-page SEO task.
In this case, the Yoast SEO plugin is helpful again. Scroll to the bottom of the page you are editing and edit the “SEO title” field. The placeholders “Title” and “Page” will automatically be filled with the title of the post or page.
You can remove them and enter your own SEO-optimised title tag. Sometimes it is enough just to shorten the title and change a few words.
We recommend leaving the “Separator” and “Page title” variables unchanged. You can change them on specific pages if needed. That way, you do not have to manually rewrite older title tags when you change one of them.
Here are a few tips for writing eye-catching title tags:
- make sure every page/post has a unique title,
- make sure the title tag is narrower than 600 pixels (the progress bar under the “SEO title” field in the Yoast SEO plugin will be very helpful; try to stay in the green zone),
- put the target keyword first (but do not stuff keywords at all costs),
- where possible, include your brand name (sometimes this can make the title too long, so it depends on your needs),
- use persuasive, call-to-action phrases (words such as “review”, “best”, “checklist” or “step by step”),
- use numbers (for example “top 10” or “in 2022” – they attract people’s attention).
Create unique meta descriptions
Although meta descriptions are not a direct ranking factor, they do affect your click-through rate (CTR). In other words, writing excellent meta descriptions will make more people click your link in the search results.
A shortened meta description is not a disaster from an SEO perspective, but it does not look good either.
You can add meta descriptions in Yoast SEO in the same section as the title tags. The progress bar will help you keep the meta description within the ideal length range.
The following rules will help you write excellent meta descriptions:
- create a unique meta description for each page,
- try to stay within the 120-character limit (the description will not be cut off in mobile search results),
- include the target keyword (but do this naturally, without keyword stuffing),
- remember search intent,
- write clearly and use the active voice,
- communicate value and add a call to action at the end.
Link internally
An internal link to any link that points from one page to another within the same domain.
There are two types of internal links:
- navigational internal links – links that are part of the site structure (such as menu, categories, etc.),
- contextual internal links – links to relevant pages on your domain that are placed in the main text.
Internal links are a great way to pass authority between pages, and this is (unlike link building) 100% under your control.
Creating internal links
You can create internal links when you create new content. Adding internal links in WordPress is easy.
First, select the piece of text from which you want to create the link (anchor). Then click the chain icon. The next step is to search for the page or post you want to link to and click it.
You can also simply paste the URL of the target page if you already have it. Alternatively, you can use a WordPress plugin that will automate the process of creating internal links based on selected keywords.
A good practice is to make internal linking part of your publishing workflow:
- before publishing – while writing new content, make sure you link to other posts or pages that may be useful to your readers,
- after publishing – when the post is live, look for older posts you can link to from the new content.
Use internal links strategically to support your important pages and posts.
Create descriptive alt text for images
Adding descriptive alt text to images is an important SEO practice in WordPress and other similar platforms.
On Google’s main blog, it was announced that Google uses alt text to “understand the subject matter of an illustration”. Moreover, alt text is an important element when it comes to user experience. Screen readers read alt text for people with visual impairments.
So how can you create good alt text?
An example could be a photo of two men playing chess. Here are a few examples of alt text:
- bad alt text (keyword stuffing) – “chess, chessboard, men playing chess, history of chess”,
- bad alt text (no alt text) – “”,
- bad alt text (unclear) – “chess”,
- good alt text – “two men playing chess”,
- great alt text – “two elderly men playing chess on a bench in Central Park in 1946”.
As you can see, your alt text should be descriptive and helpful. This is not the place for keyword stuffing (although including a keyword is good practice, provided it is relevant and placed naturally).
To add alt text to an illustration in WordPress:
Go to Media > Library and select the illustration you want to edit. Write your alt text in the “alternative text” field.
Also remember that alt text is not always necessary. You do not need to write alternative text in the following cases:
- illustrations with purely decorative purposes,
- illustrations whose description is already provided nearby in text form.
Tip – another type of metadata used by Google to understand illustrations is the file name.
Next time you name your illustration file before publishing in WordPress, remember that a descriptive file name such as red-butterfly.jpg is better than, for example, DUiA6jWYoi91bK.jpg.
Speed up your site
When it comes to site speed, every second matters.
Page speed is also a confirmed ranking factor. This means that having a slow site can negatively affect your ranking. In addition, a Google report showed strong correlations between faster page load times and the likelihood of a user leaving the page.
There are many ways to optimise a WordPress site to speed it up:
- installing a caching plugin – it will allow certain parts of your site’s data to be stored after the first time it is loaded, so every future request will be processed faster,
- using a content delivery network (Content Delivery Network – CDN). These networks distribute your site’s content across different servers around the world in order to speed up load times in locations far from the original server (an example of a popular CDN service is Cloudflare.),
- reducing code – the smaller the code is (for example by removing unnecessary characters), the faster it can load,
- image compression and optimisation are also important.
Summary
Of course, there are many other strategies for optimising SEO on WordPress. However, the issues presented above are the most important and have the greatest impact on success.
FAQ
Frequently asked questions
How do you choose hosting for WordPress to help site SEO?
Hosting affects site speed, uptime and security. It is worth choosing a provider with WordPress compatibility, free SSL, a good server location and efficient support.
Should a WordPress site be indexed by Google straight away?
If the site is published and ready for SEO, the “Search engine visibility” option should be unchecked. It should only be checked when the site is under construction and should not yet appear in search results.
Why is an SSL certificate important for WordPress SEO?
HTTPS is indicated as a confirmed ranking factor and helps achieve better positions in Google. In addition, the site will not be displayed in the browser as “not secure”.
How do you submit a WordPress sitemap to Google Search Console?
First find the XML sitemap address, e.g. automatically generated by WordPress or by Yoast SEO. Then in Google Search Console go to “Sitemaps”, paste the URL and click “Submit”.
Which WordPress pages are better set to noindex?
It is not worth indexing low-value pages such as tags, date archives, format archives or usually templates. In the case of posts and main pages, you should want them indexed.
Which categories and menu help with WordPress SEO?
The menu should be simple, predictable and clear, so it is easier for users and bots to understand the site structure. It is worth limiting categories to a sensible number, describing them and using them to organise posts and internal linking.